You can now export your claims from Kakitangan into Quickbooks directly!
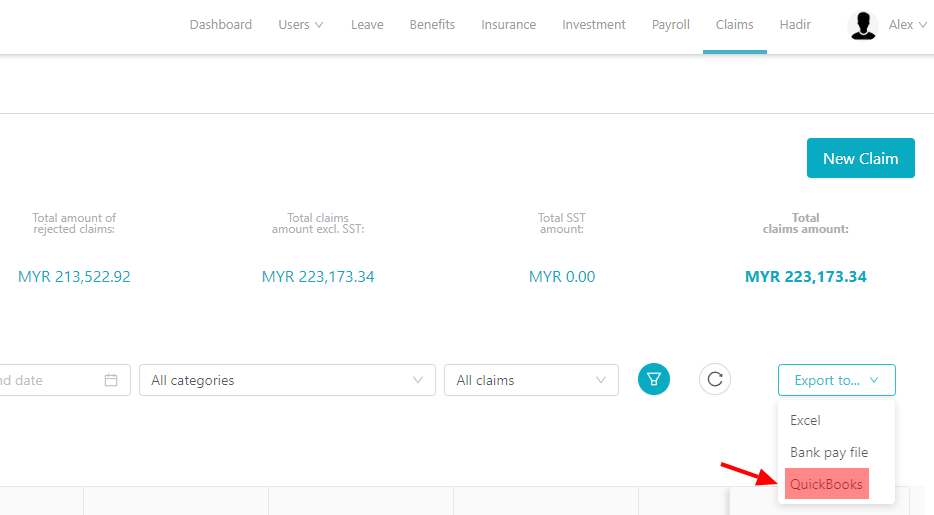
To access this feature, go to Claims and under "Export to", you will find Quickbooks:
You will be lead to the "Account Mappings" page first:
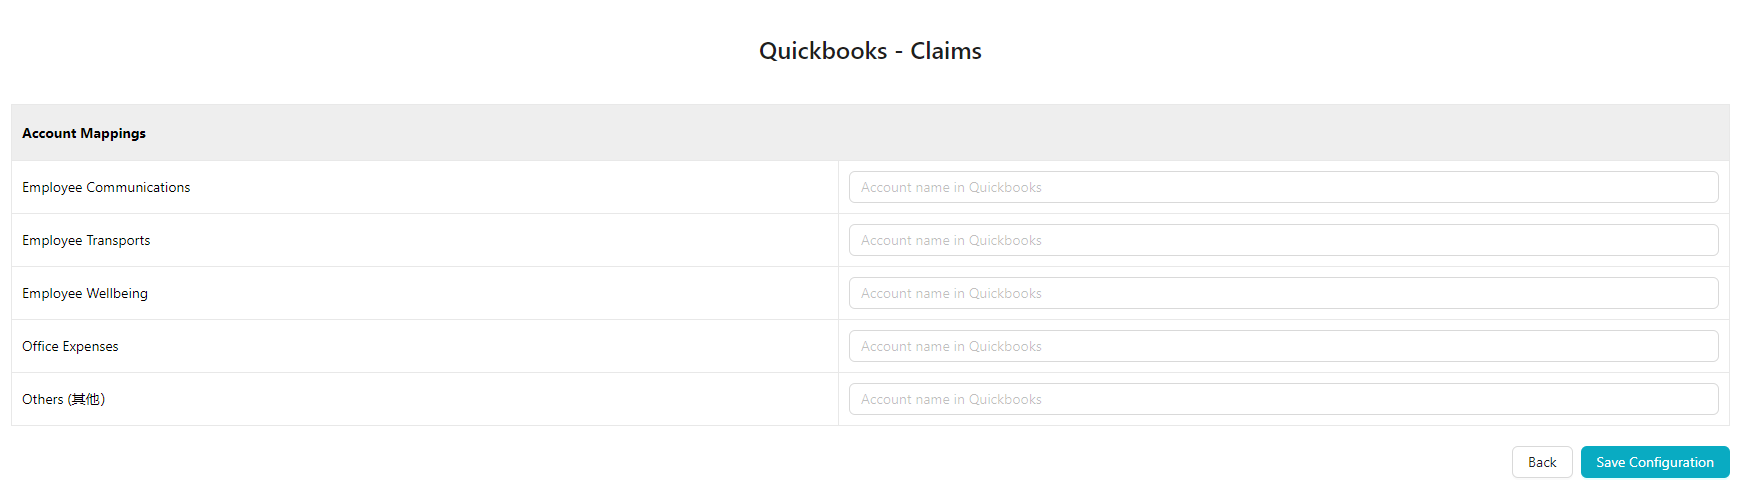
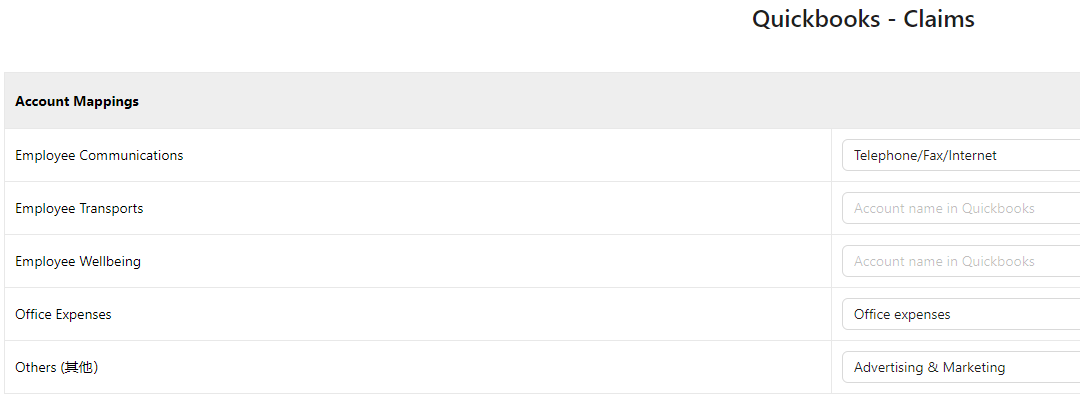
Each of the claims category will be listed on the left, and if you wish to add more, you may do so at claims settings page. On the right, fill in the Account name that is exactly the same as in Quickbooks (this will make the uploading process smoother).
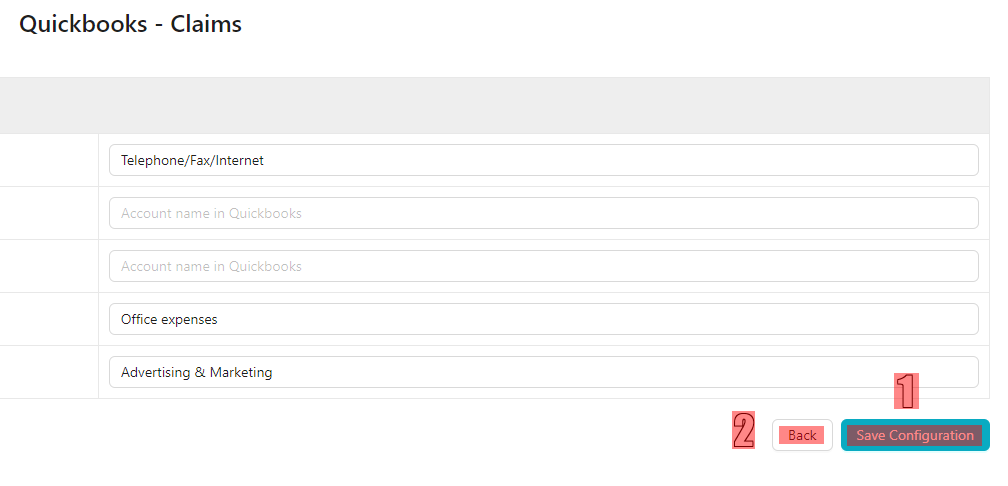
After you have filled up all the Account names, make sure to click "save configuration" and click "back":
After clicking "back", this is the next page:
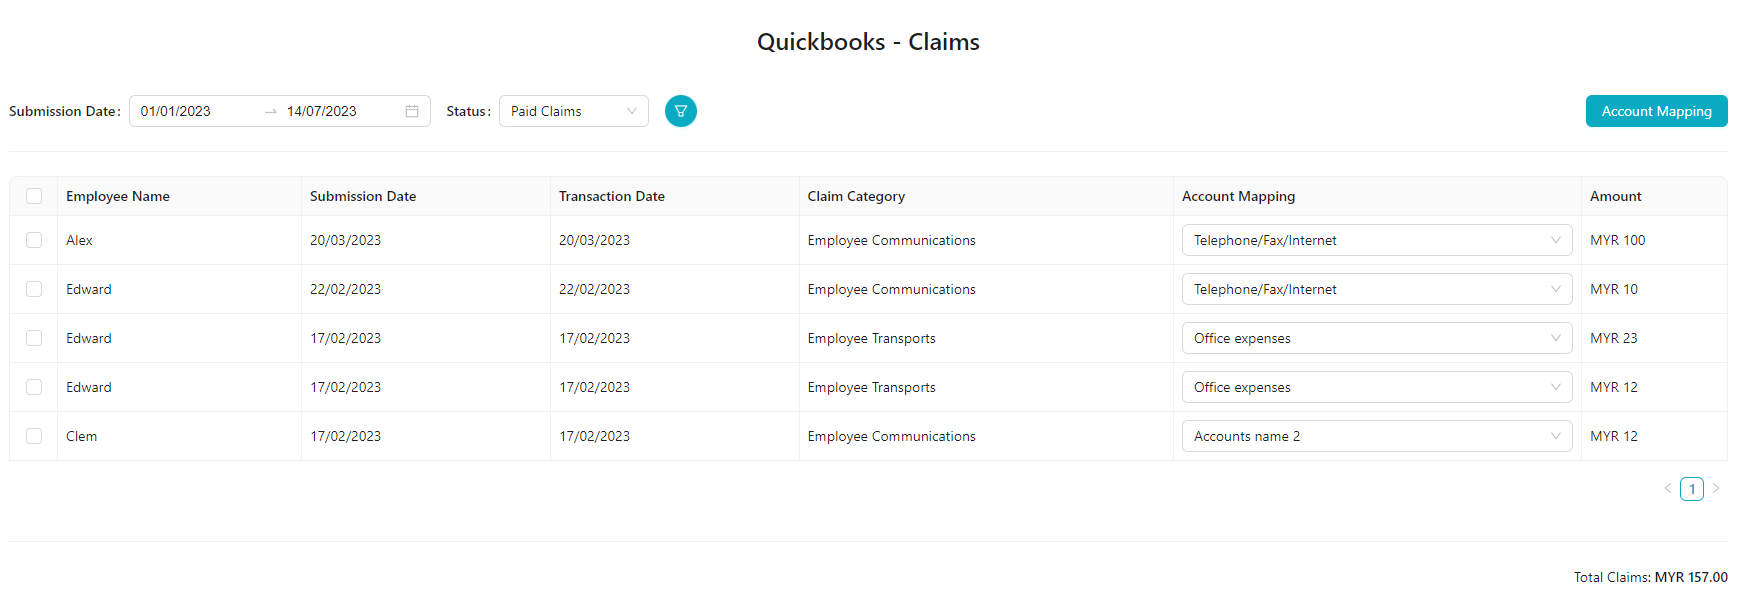
By default, all the paid claims will be displayed, and it will based on the date range as well. You are free to change the status to approved claims and expand the date range:
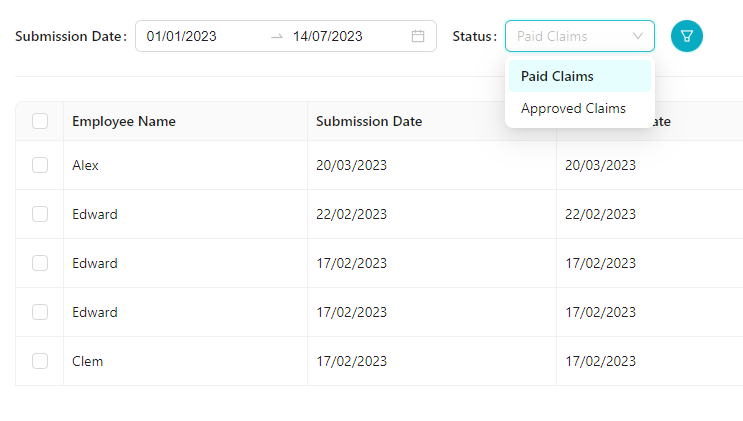
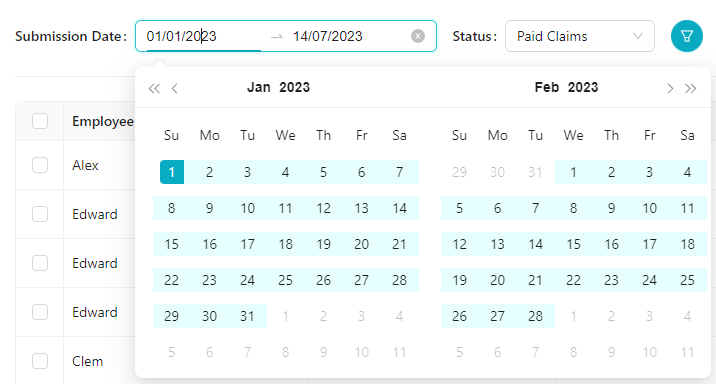
Make sure to click on the filter button to reflect the changes after you have changed the status or date range.
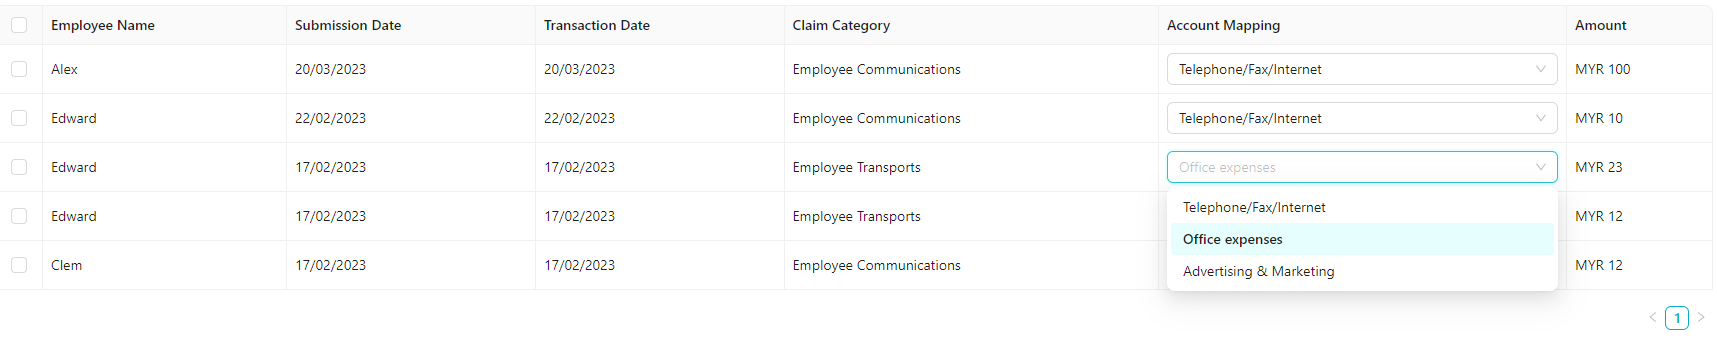
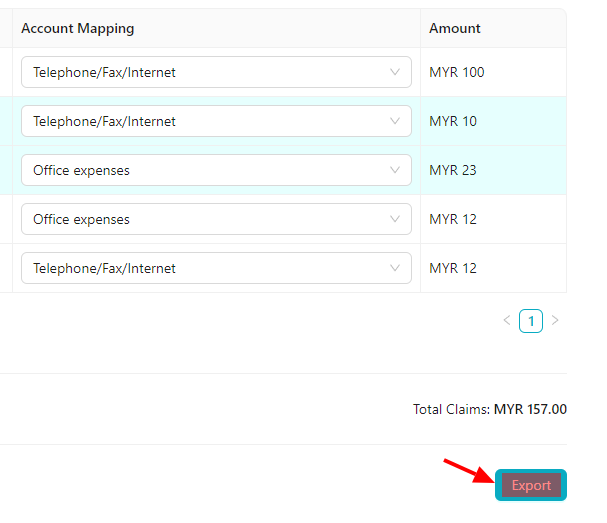
After you have done the filtering, all the relevant claims will be displayed. You can easily change the Account that each claims belong to:
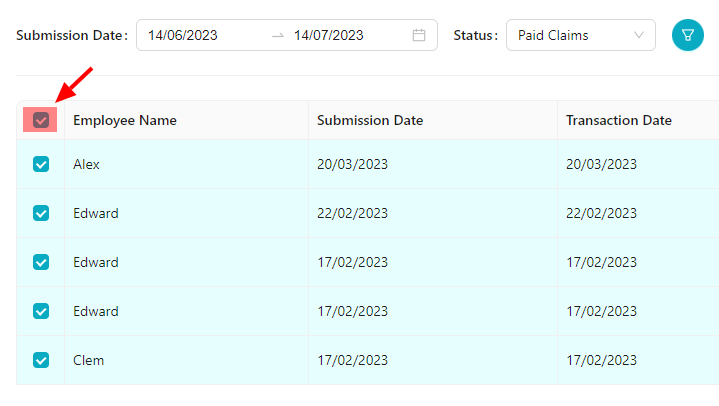
After you have finished sorting all the claims into the correct Account, you can export all the data by clicking on the checkbox next to Employee name:
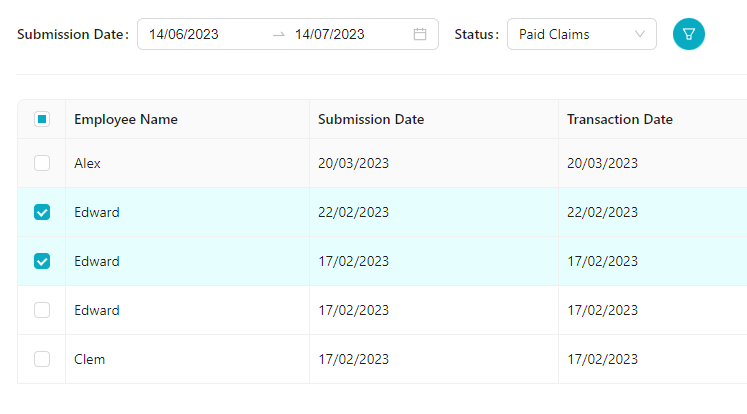
Or you can also check only the claims that you wish to export out:
And click on the "Export" button:
After you have clicked on the export button, you will be presented with this message:
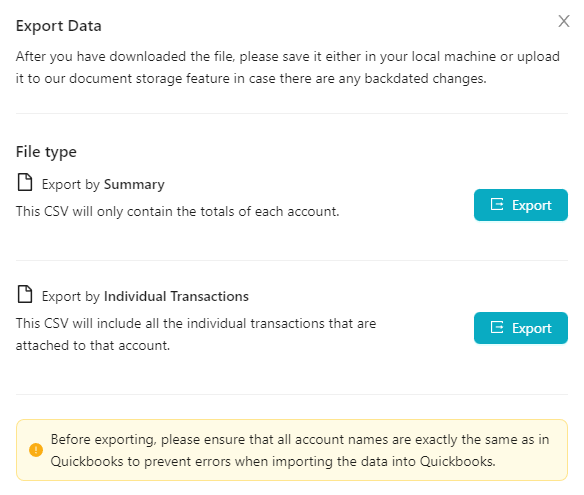
You can choose to export it into CSV via Summary or Individual Transactions. After you have exported into CSV, you may go through it and upload into Quickbooks.
If you have any further enquiries, please feel free to email to support@kakitangan.com or via the livechat.
