Complete guide: New way to manage Additional Earnings, Deductions and Overtime
Do you want a page to better manage all your allowances and deductions? If so, this is for you. A complete new table view, default additional earnings and overtime items will still be available. Let's dive into the details.
How to access this new feature?
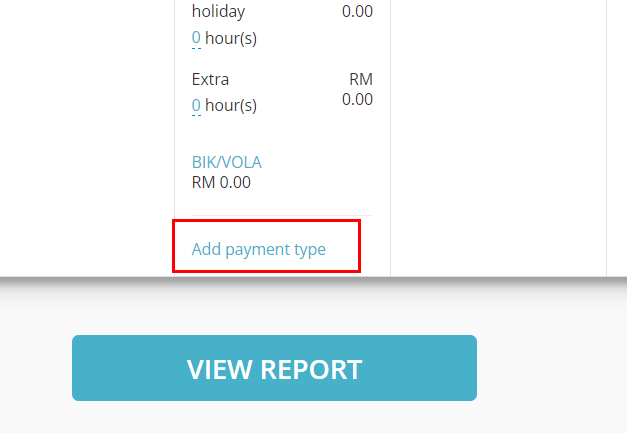
At payroll calculator, scroll to the bottom of Additional Earnings and click Add payment type.
In Add payment type page, you will see Additions, Deductions and Overtime.
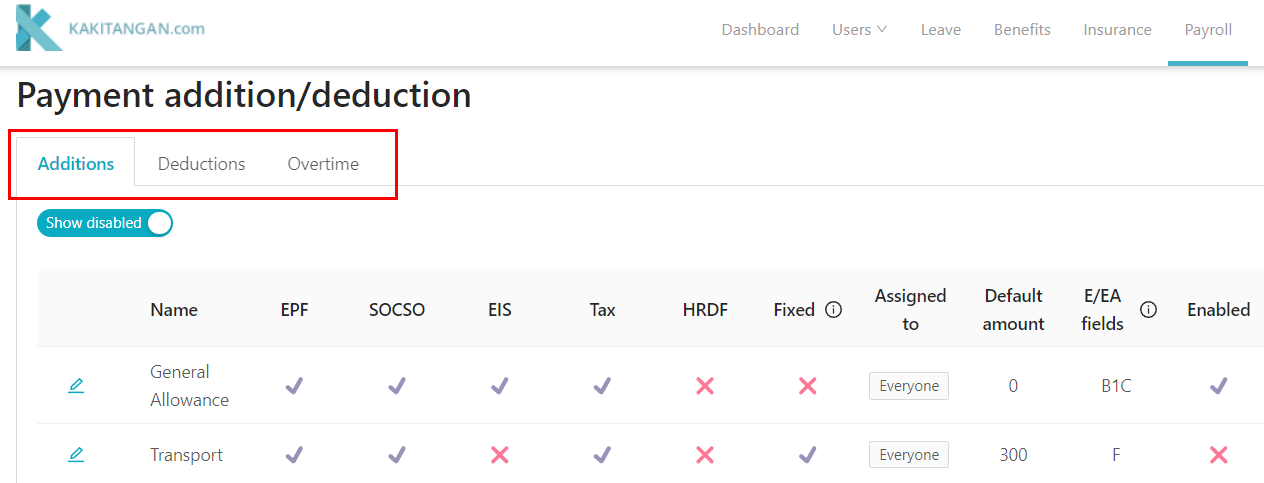
Let's break each of them down:
Additions
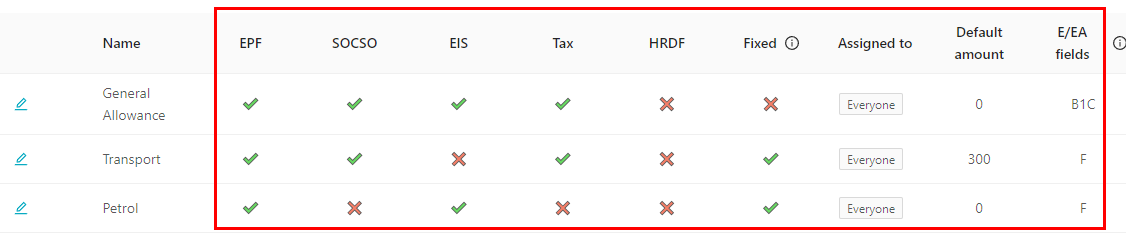
This tab allows you to view all the allowances in the company at one glance!
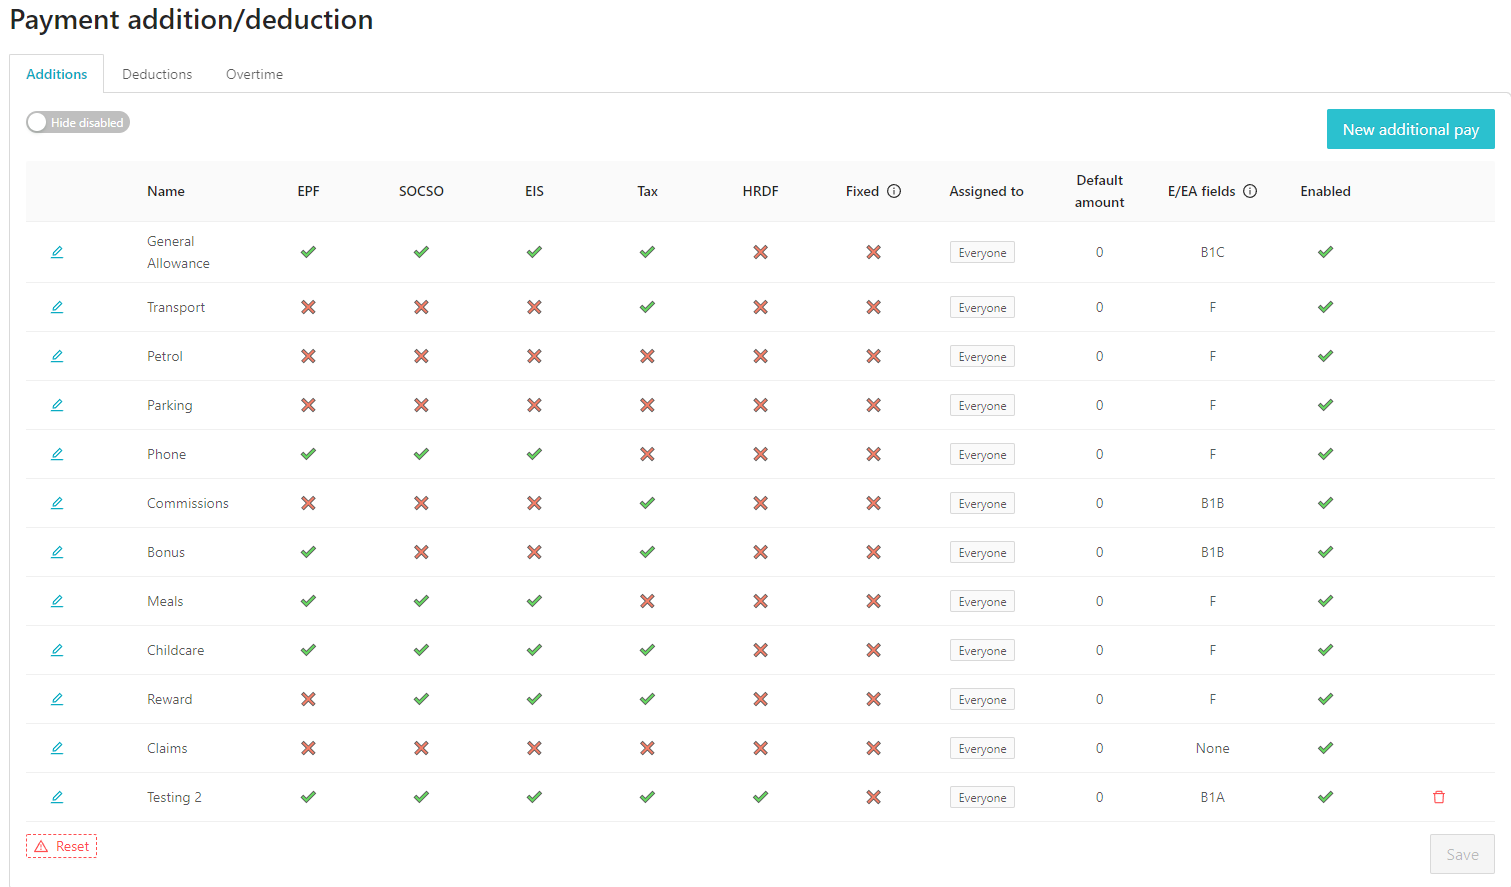
You can also view:
- The allowances that are applicable to EPF/SOCSO/EIS/Tax/HRDF.
- Fixed or non-fixed each of the allowances.
- The employees or groups that have been assigned to the allowance (default group is everyone).
- The amount that have been assigned to your employees (default is RM0).
- The EA field of each allowances.
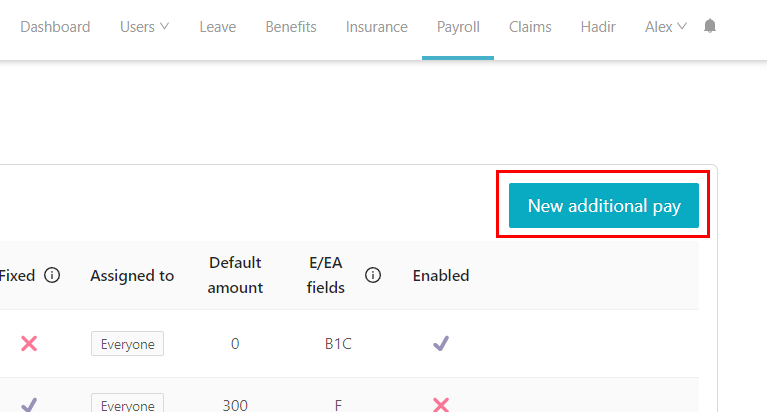
By default, our system will have created default allowances for your company. If you wish to create new ones, click New additional pay:
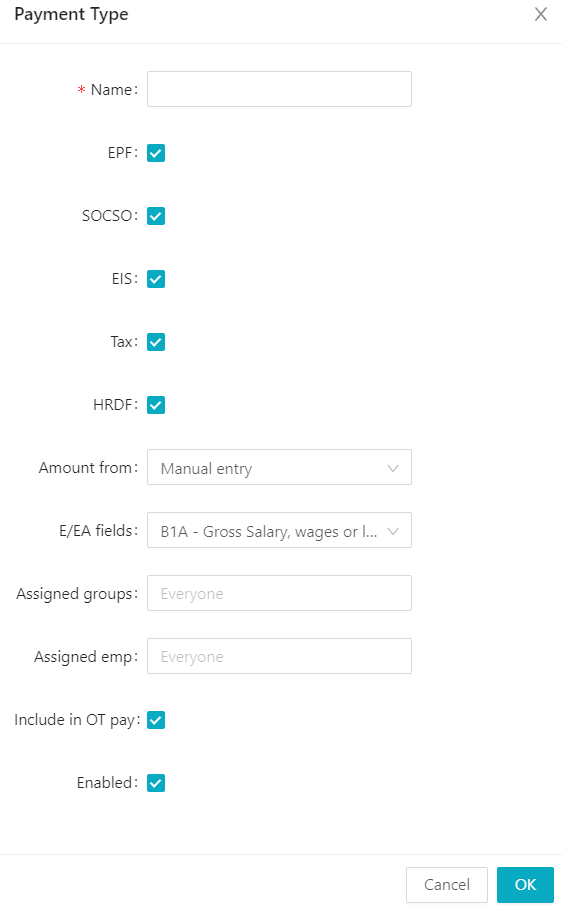
This will show up and you may feel free to fill up the details and customize it to your liking:
You can also opt for pro-rate allowance if the employee is not fully service for the month.
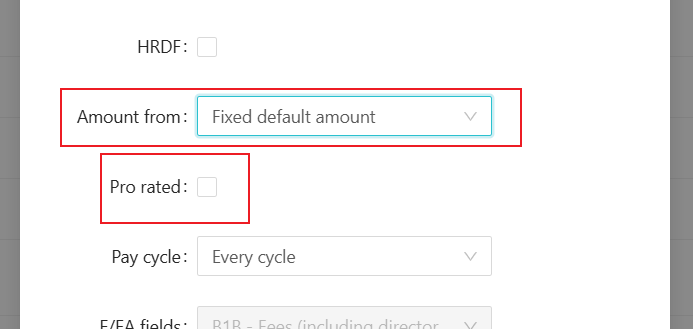
Pro-rate allowance calculation will be [Total Allowance/ Working Days in a Month x Total worked days]
Aside from keying in the name of the allowance and choosing whether it's applicable to EPF/SOCSO/EIS/Tax/HRDF,
- Amount from - allows you to choose Manual entry or Fixed default amount.
1.1) If you choose Manual entry, you would need to go to payroll calculator to manually key in the amount for each employee.
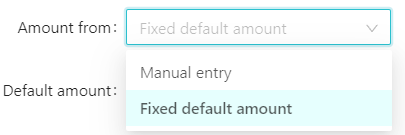
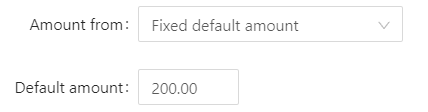
1.2) If you choose Fixed default amount, you can key in one amount for example, RM200 at Default amount and apply it to your employees.
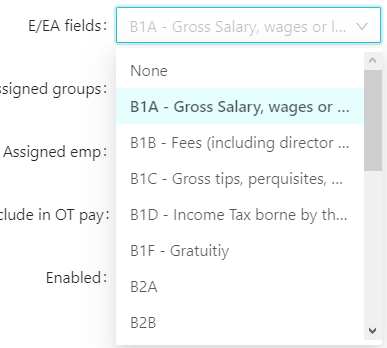
- E/EA fields - allows you to choose the EA field for the allowance.
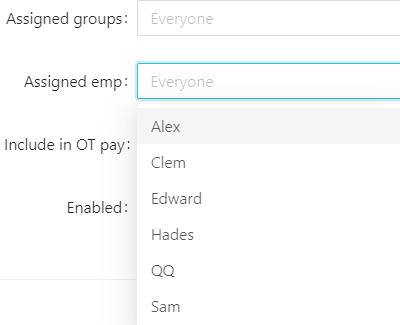
- Assigned groups/emp - allows you to assign the allowance to specific employees or to a few groups.
4. Include in OT pay - allows you to include the allowance as part of OT calculation (by default, all allowances should be included in OT calculation as per the regulations)

5. Enabled - allows you to enable or disable the allowance. If you disable it, it will not show up in the payroll calculator.

5.1) If you turn on Show disabled, the disabled allowance will show up in Additions but if you turn it off, it will be hidden.
An example below where even though Transport has been disabled, but Show disabled was turned on, hence it is still showing up in Additions.
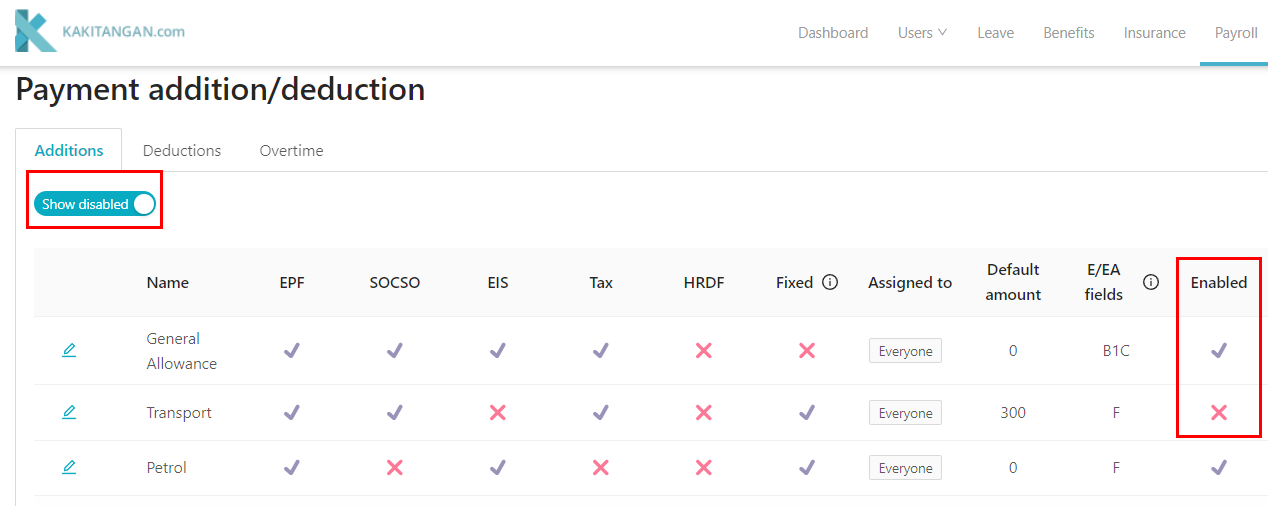
6
Also, the allowances that were created by the system can't be removed, only the ones that were manually created by you can be removed.

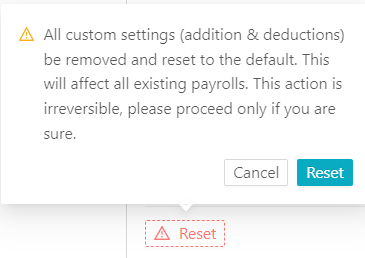
If you wish to reset all the allowances, you may click Reset at the bottom left of the page and it will revert back to the default view.
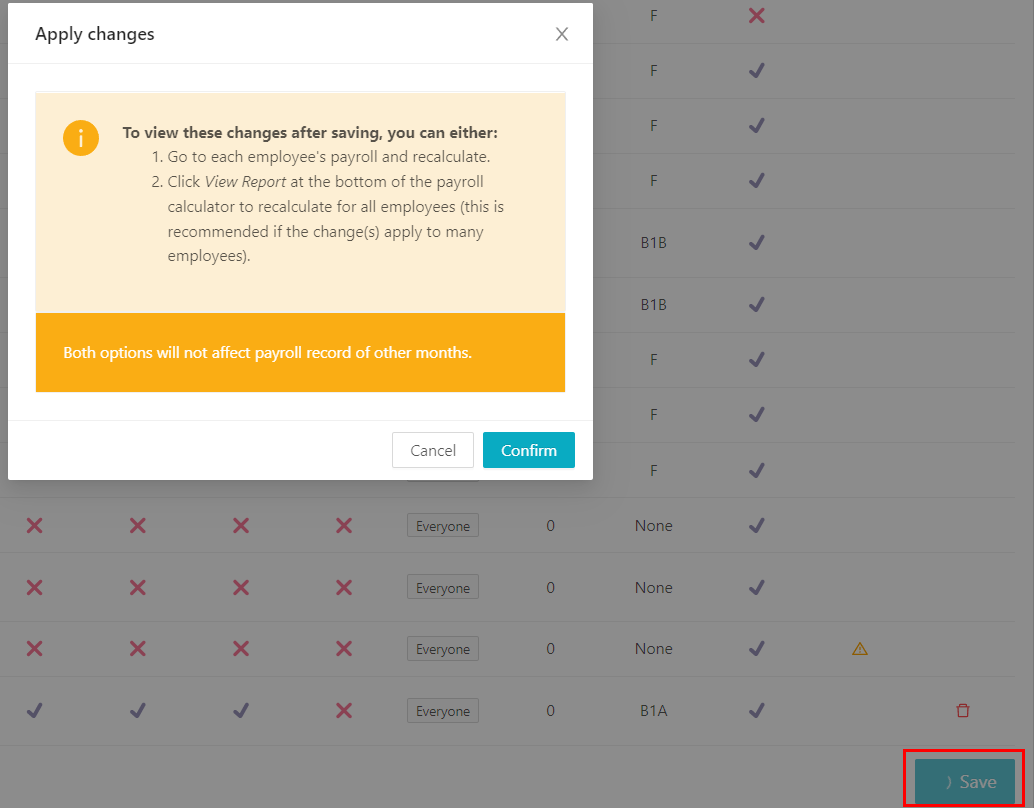
Very important thing to take note: When you make any changes to the page, make sure to save it and click Confirm, if not, the changes will not be saved in this page or even in the payroll calculator.
How to setup Director Fees?
Director's fee is not subject to EPF but is mandatory subject to monthly tax deduction (MTD) and it is not preset in the system.
Now you can create under Addition > New additional pay
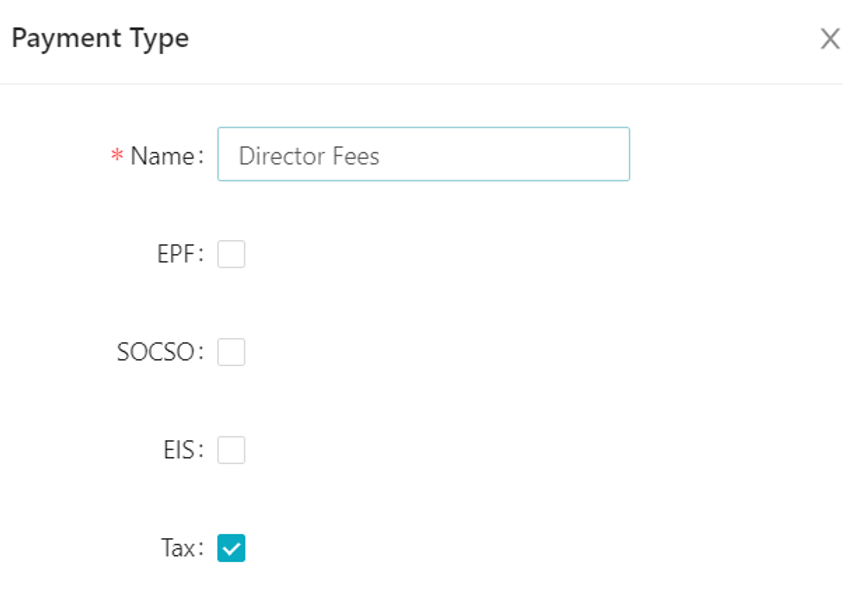
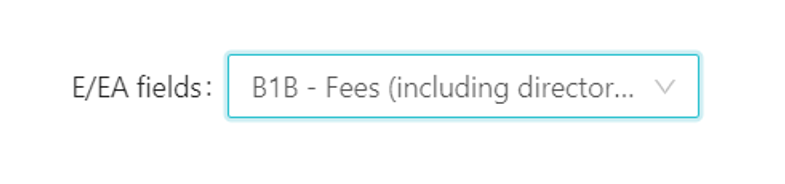
for EA form field, kindly select B1B to ensure the amount will be included under EA form.
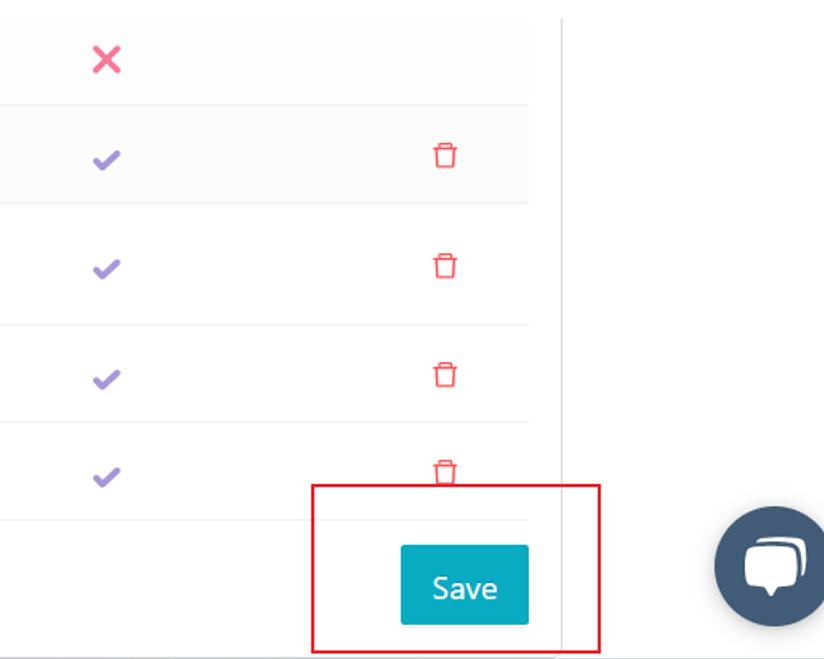
Remember to click "save" after edited.
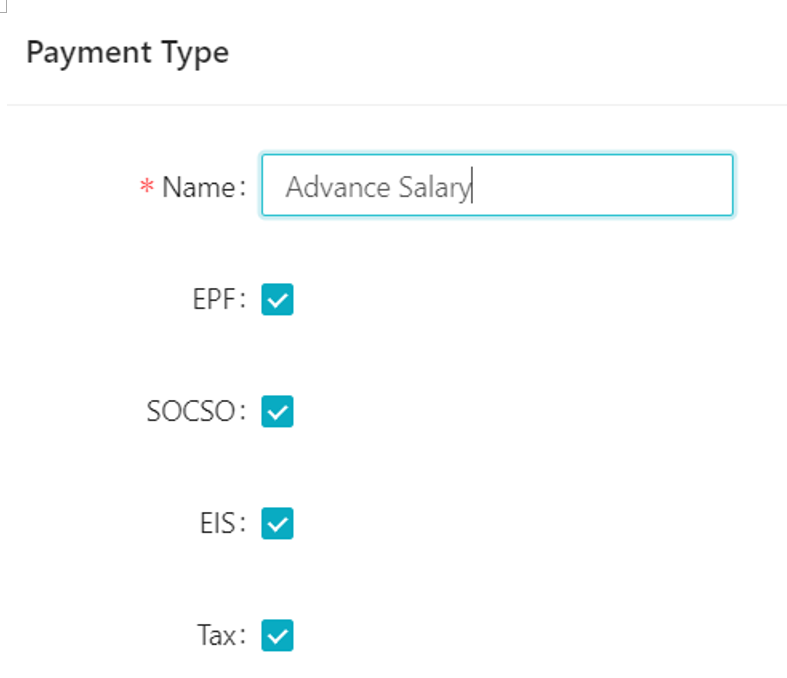
Advance salary
Advance salary will be issue when employee encounter unexpected financial challenges like a family emergency, medical bills. in this circumstances, you may use our system to customized it.
At the same page, create under " New additional pay"
It shall be treated same as salary which subject to MTD, EPF and SOCSO/EIS.
for EA form field, kindly select B1A to ensure the amount will be included under EA form.

Kindly remember click "Save" after adjustment is made.
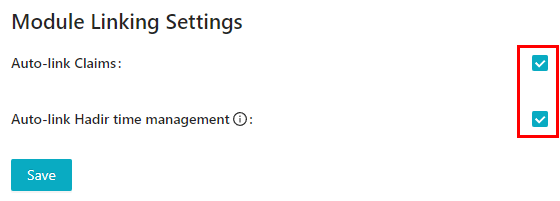
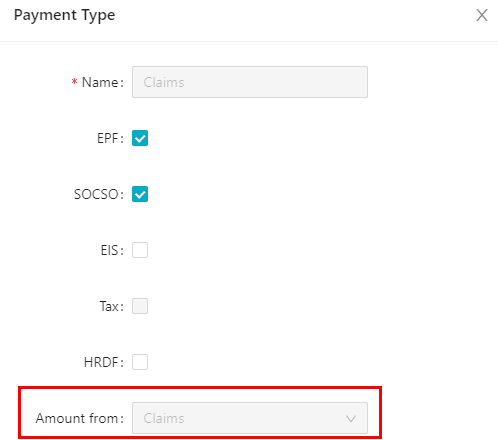
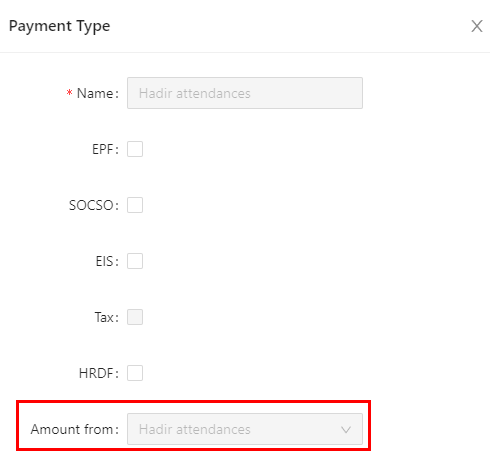
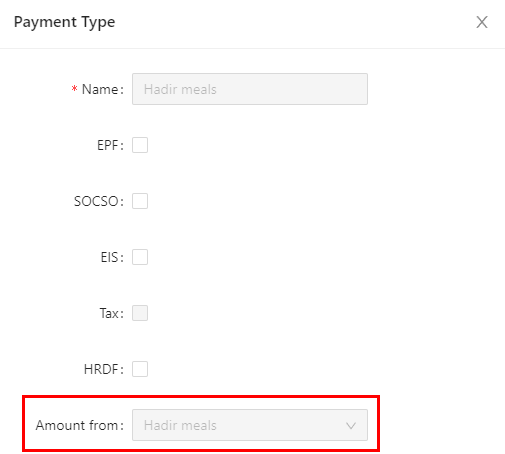
Linking Claims and Hadir to payroll
If you are using our Claims and Hadir module and would like to link them to payroll, go to payroll settings and check these 2 boxes:
After linking it, the amount will derive from that specific module, no more manual work required.
Deductions
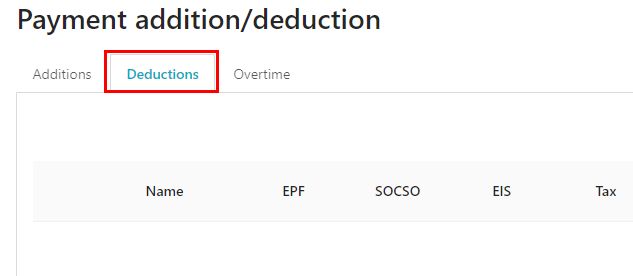
Deductions are located next to Additions and by default, EPF/SOCSO/EIS/Tax/HRDF are already in the payroll calculator so you don't have to create anything here.
- If you have deductions such as "advance salary" that would like to deduct from the payroll, you may manually create it by clicking at New deduction.
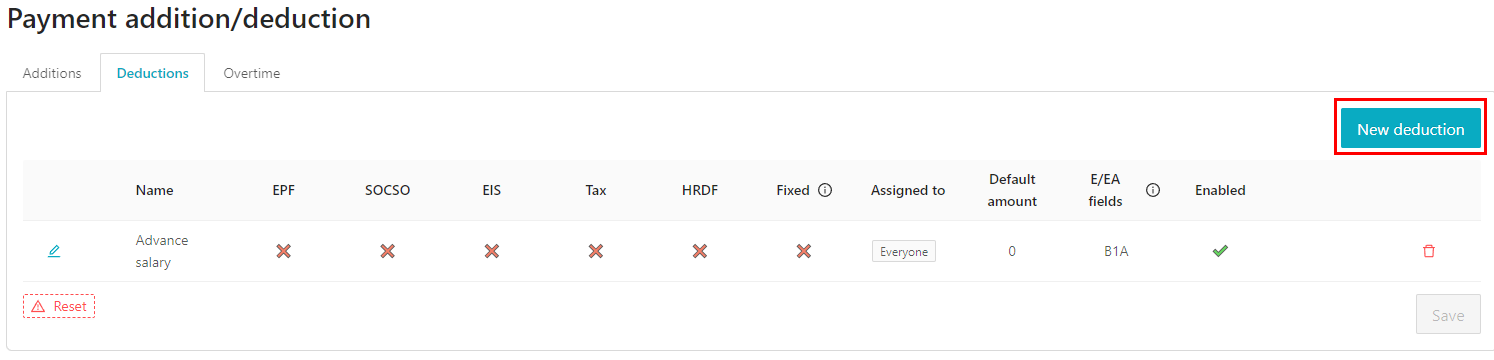
2. You can customize the deduction as well!

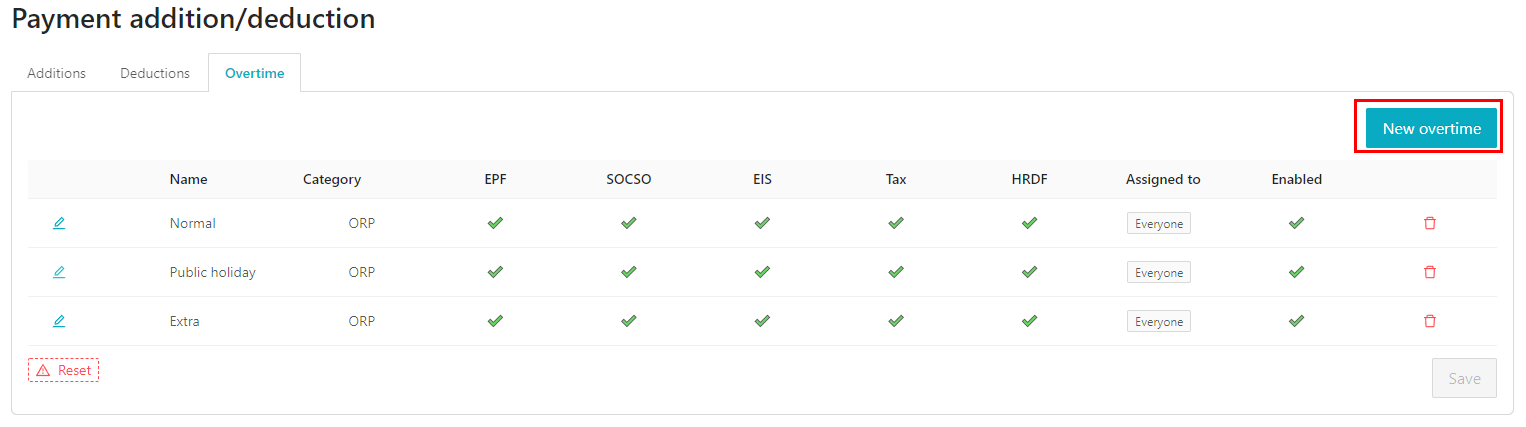
Overtime
Overtime is the last part here and there are customizations that you can perform here.
- Click at New overtime to add custom overtime rates. Feel free to add as many as you like according to your needs.
2. For each of the overtime rate, you can choose to assign it to a particular group or certain employees only.
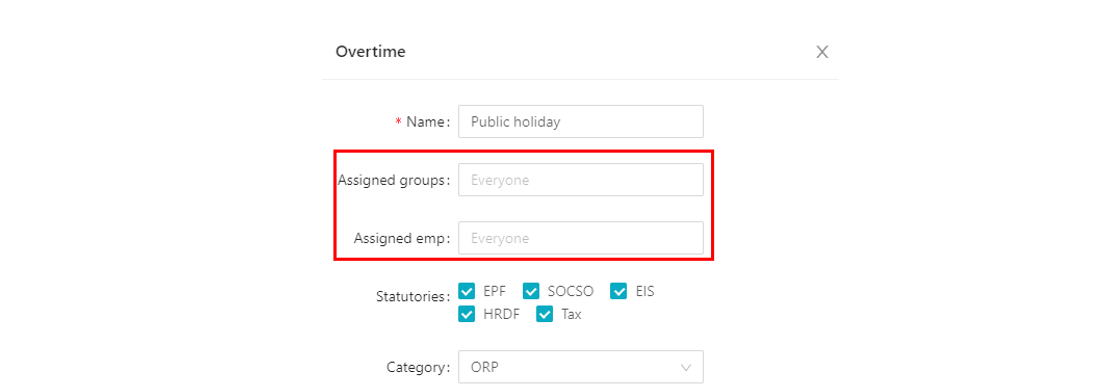
3. Customize the statutories by checking and unchecking them.

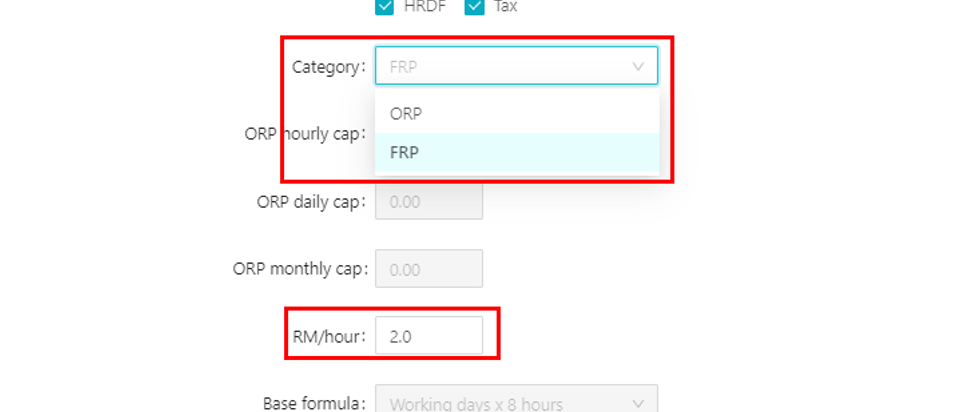
4. Each OT rate can also have it's own capping, together with hourly, daily and also monthly.
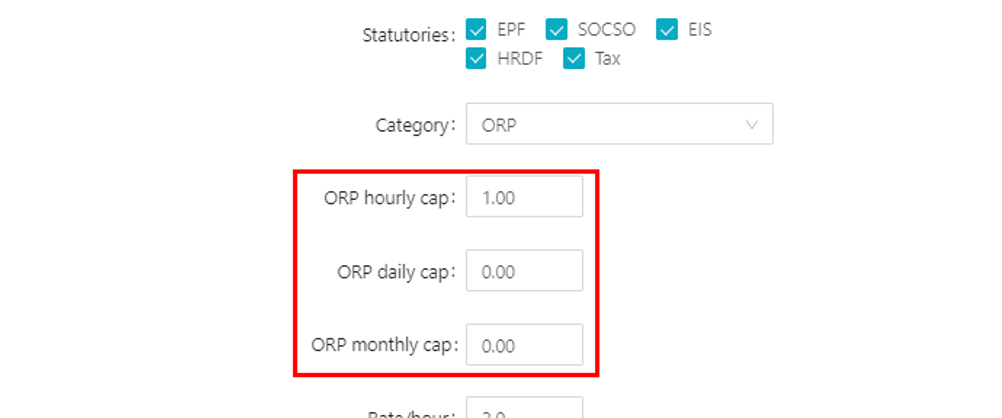
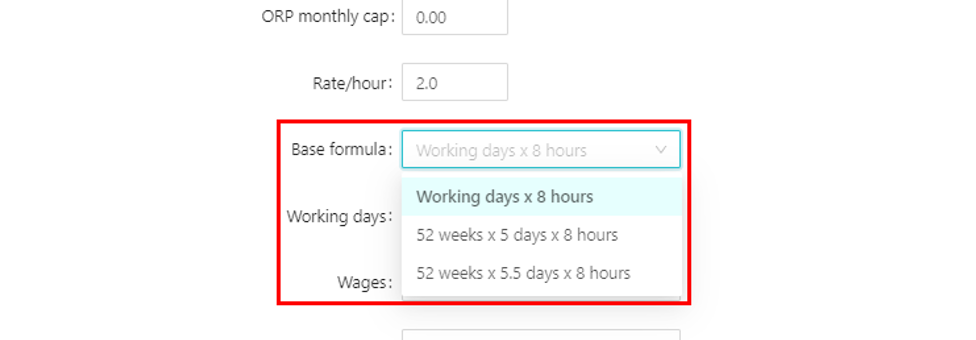
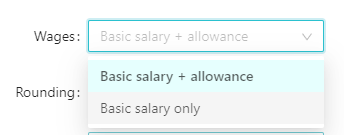
5. If your company has different ways to calculate OT, you can customize it at Category, Base formula, and Working days:

6. It is recommended to select Basic salary + allowance for OT calculation as per the regulations.
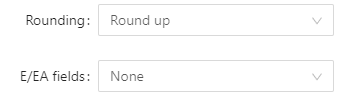
7. You also have the flexibility to do some rounding or to even include in the E/EA fields.
If you are an existing user and wish to switch back to the previous version, please feel free reach out to us at support@kakitangan.com.
If you encounter any issues in this page, please feel free to reach out to us as well.